

 By
By Introduction
Over-the-air (OTA) antennas offer a cost-effective way to access a range of high-definition television channels without the need for expensive cable or satellite subscriptions. By choosing to install your antenna outdoors, you maximize signal strength and receive a larger selection of channels. This guide provides a detailed, step-by-step process to ensure you can set up your outdoor OTA antenna effectively.
Understanding Over-the-Air Antennas
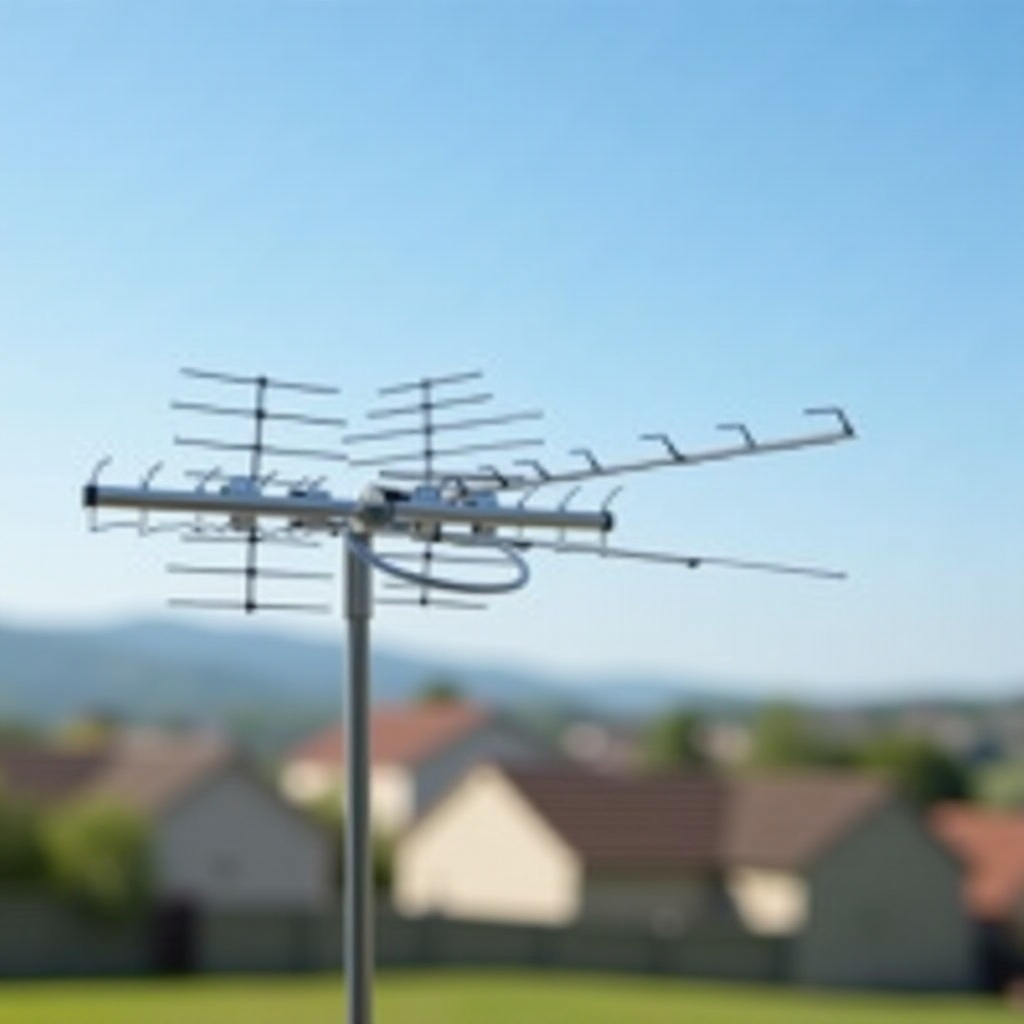
OTA antennas are designed to capture broadcast signals from local television stations that transmit them over the air. These signals are freely available and can deliver channels such as ABC, CBS, NBC, and more. Installing your antenna outdoors significantly enhances signal quality by minimizing interference from walls and other obstructions that are common with indoor setups.
What is an OTA Antenna?
An OTA antenna functions by receiving free broadcast signals from local towers. These antennas come in various types, including directional and multi-directional models. Each type serves different needs based on the signal environment.
Benefits of Outdoor Installation
- Enhanced Signal Quality: Outdoor antennas encounter fewer obstructions, such as walls and electronic devices, leading to clearer signal reception.
- More Channels: Access additional channels that might be unavailable to an indoor setup.
By understanding these advantages, you can choose an outdoor setup for the best performance.
Choosing the Right Antenna and Equipment
Selecting the right antenna is critical to a successful installation. To do so, consider your location, the proximity to broadcast towers, and any potential obstacles in signal paths.
Determining Your Location and Signal Range
Begin by researching the distance from your home to nearby broadcast towers using reliable websites like AntennaWeb.org. Knowing this allows you to choose an appropriate antenna type, such as a directional antenna for distant towers or a multi-directional one for multiple sources.
Selecting the Right Antenna Type
Take into account the broadcast frequency bands (UHF/VHF) you’re targeting, the tower direction, and your local environment. These factors greatly influence the type of antenna you should purchase.
Gather Necessary Tools and Accessories
To ensure a smooth installation, prepare these tools and accessories:
– Compatible OTA antenna.
– Mounting brackets, poles, or masts.
– High-quality coaxial cable and connectors.
– Proper grounding equipment for safety.
– Basic hand tools like a drill and screwdriver.
Ensuring you have all the necessary equipment will streamline your installation process.
Preparing for Installation
Before you dive into installation, do a site survey to find the best location. This involves inspecting your property for the highest point with the least interruption of the signal pathway.
Conduct a Site Survey
Examine your property and identify potential mounting areas such as rooftops or walls. Aim for a point with a direct line of sight toward broadcast towers. This step is crucial for optimal signal capture.
Check Local Regulations and Safety Measures
Investigate any local codes or homeowner association rules regarding outdoor antenna placement. Also, prioritize safety by scheduling installations in safe weather and using appropriate protective gear.
Step-by-Step Installation Guide
Successfully setting up an OTA antenna involves methodical steps that start with finding the best place to secure the antenna.
Finding the Optimal Mounting Location
- Select a spot: Prioritize areas that offer height and clear sightlines free from obstructions like trees or buildings.
- Elevation matters: Placing the antenna higher generally enhances signal reception.
Types of Mounting Options
Consider whether your setup allows for roof, wall, or pole mounting. Each type has its pros and cons based on your house’s structure and available installation space. Roofs typically provide the best reception at the potential cost of more complex installation and sealing requirements to prevent water damage.
Mounting the Antenna: Step-by-Step Instructions
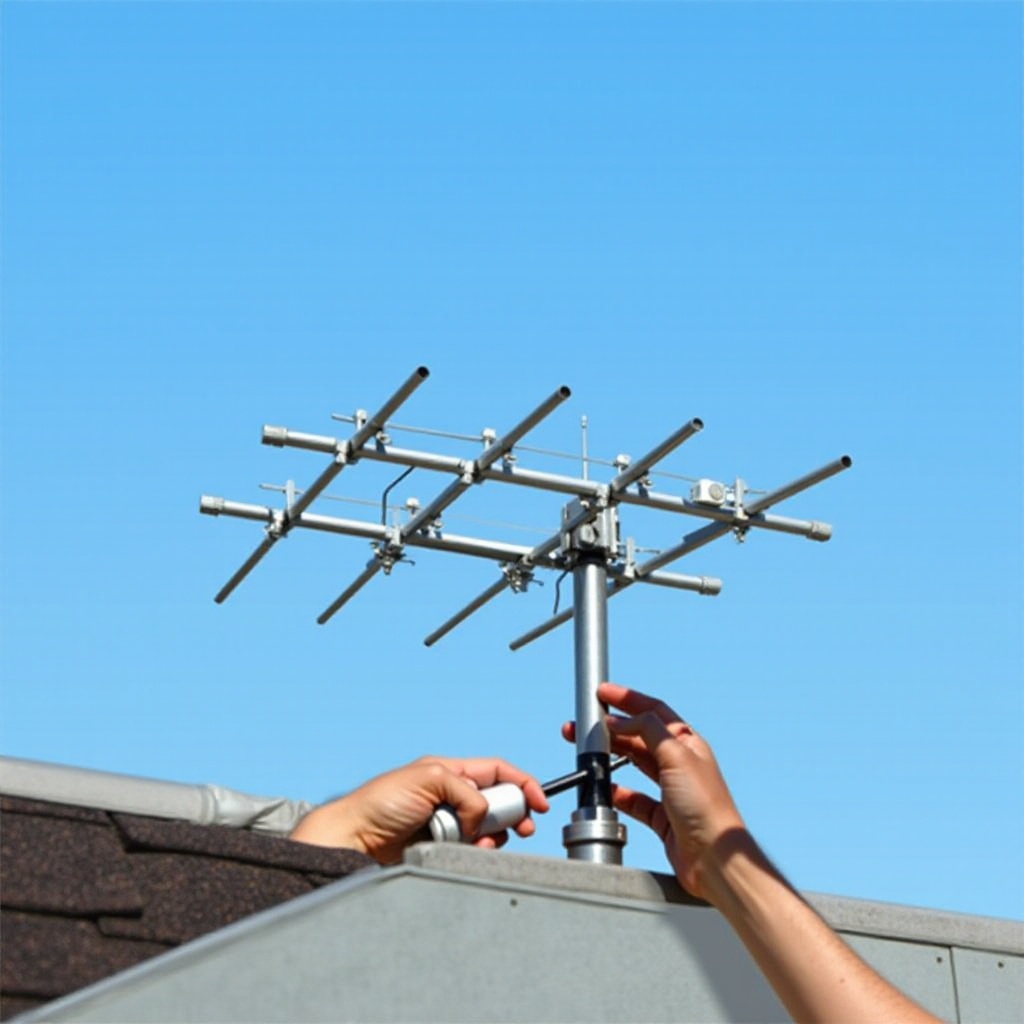
- Assemble the mount: Adhere strictly to the assembly instructions, ensuring that all screws and bolts are securely fastened.
- Fix the antenna: Attach the antenna to the mount according to guidelines provided by the manufacturer.
- Positioning: Use a compass or specialized apps on a smartphone to precisely align the antenna toward the broadcasters’ locations.
- Secure: Properly secure the mounted antenna to prevent it from swaying or breaking due to wind or other elements.
Completing these steps properly guarantees a foundation for consistent, high-quality signal reception.
Connecting and Configuring Your System
Following a successful mount, hook up the antenna to your TV system to begin capturing channels.
Running Coaxial Cables to Your TV
- Connect first cable end to the antenna output.
- Run the cable: Use clips to ensure the coaxial cable is neatly and securely routed into your living space.
- TV connection: Link the cable’s other end to the ‘Antenna In’ port on your TV or a converter box.
Completing these tasks seamlessly sets the stage for the next crucial operation, which involves channel scanning.
Scanning and Configuring Channels
- Switch on the TV and access settings.
- Initiate the ‘scan for channels’ operation; this might take a few minutes.
- Save the channels found to complete the setup.
By following these instructions, you establish a strong connection from the antenna to your television, culminating in a superior viewing experience.
Troubleshooting and Optimizing Your Setup
Despite proper installation, you might encounter reception issues or seek better performance.
Common Reception Issues and Solutions
In cases of weak signal or missing channels:
– Adjust the antenna direction slightly and perform a channel re-scan.
– Consider using a signal amplifier for enhanced signal strength and potential access to more channels.
Fine-Tuning Signal Strength
Ensure all installation connections remain tight and free of corrosion. Regular checks can help avoid problems caused by weather or physical disruptions.
Conclusion
Installing an outdoor OTA antenna can revolutionize your TV viewing by delivering free, high-quality broadcasts. With the guidance provided in this manual, you should now be equipped to undertake your installation project with success and enjoy the numerous benefits it offers.
Frequently Asked Questions
What is the best height for mounting an outdoor OTA antenna?
The best height is as high as possible since elevation improves line of sight to broadcast towers and reduces interference.
How can I boost my OTA antenna signal?
Using a signal amplifier can help, as well as ensuring the antenna is positioned correctly and that all connections are secure.
Are outdoor antennas better than indoor models?
Yes, outdoor antennas usually offer better signal reception due to their placement advantage and reduced interference.